Introduction:
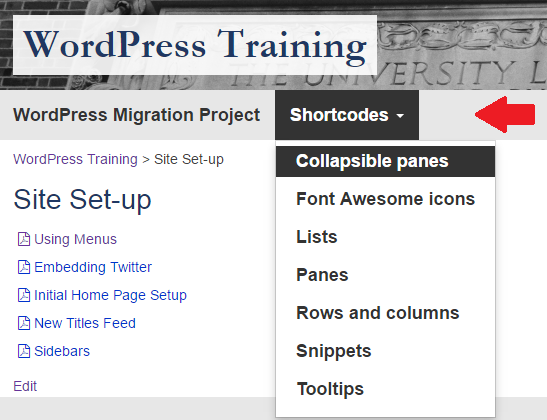
The unit menu appears right below the page banner in a grey strip (figure 1). We’ve already added this menu to your pages, but you can control which items appear on the menu, their order, and where they link. You may also have dropdown menus for each menu item. We recommend that you do not exceed 5 items on your unit menu. This tutorial will show you how to edit your unit’s menu

Accessing menu options:
The menu options may be accessed by hovering the mouse over “Appearance” in the left-side menu bar of WordPress and clicking on “Menus” (figure 2).

Adding and rearranging menu items:
The screen that appears shows the structure of your current menu under “Menu Structure” (figure 3). Indented items are part of a dropdown menu. You can add new items to your menu by selecting them from the “Pages” pane and clicking “Add to Menu”. The item is automatically added to the bottom of the menu, but you can adjust its position by clicking and dragging it into the desired order (figure 4).
You can also add an external link by clicking on “Custom Links”, providing the link URL and a display name (in “Link Text”).


Removing menu items:
To remove a menu item, click on the triangle next to the item you wish to remove, then click on “Remove” (figure 5).

Saving changes made to menu:
After you’ve made changes to your menu it is important to save those changes by click on the blue “Save Menu” button near the top right of the screen.
![]()